Managing Taxonomies
Taxonomies are a way to classify posts, essentially organizing them into different categories or groups. Utilizing taxonomies can enhance features and broaden the reach of your review site.
To view all taxonomies available in a directory, you can go to ACF > Taxonomies
Here are two key definitions you need to know:
- Taxonomy: This includes ‘product-categories‘, ‘vendors‘, ‘product highlights‘, etc.
- Taxonomy Term: For example, in the ‘product categories‘ taxonomy, terms like ‘Affiliate Marketing‘, ‘Local Marketing‘, ‘PLR‘, etc., are included.
Below are what you can do with Taxonomies:
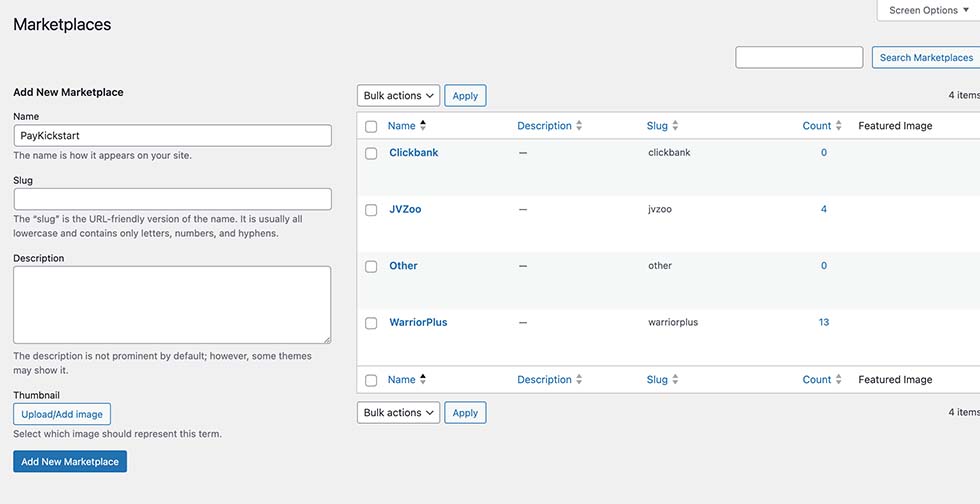
1- Add New Marketplace
By default, I have included WarriorPlus, JVZoo, and ClickBank. You can add more marketplaces like PayKickstart, DigiStore24, ThriveCart, or even Amazon. To add additional marketplaces, go to Review > Marketplace and click Add New.

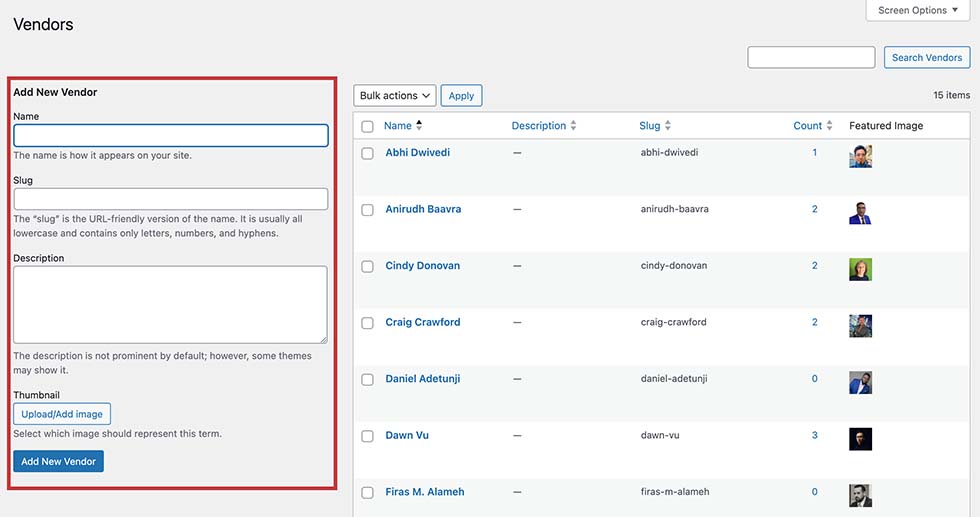
2- Add New Vendors
New vendors can be added directly in the review post, but you can also add them as a taxonomy. To do this, go to Review > Vendors, where you can add new vendors. You can also upload a photo for each vendor, which will be displayed on the “All Vendors” page.

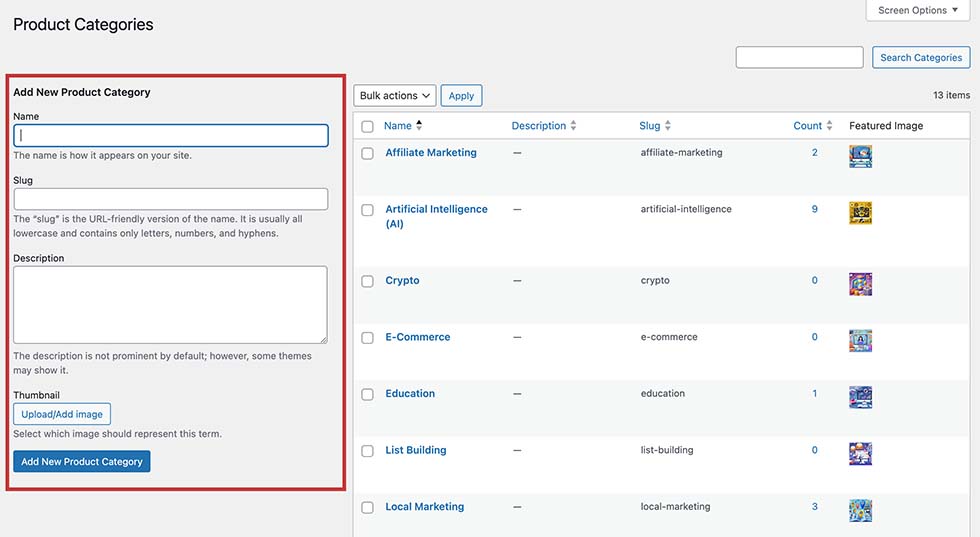
3- Add New Product Categories
The default categories cover almost all niches, but if you want to add more, go to Review > Product Categories. Make sure to include a featured image for each category.

